Scenes
This is what the Scene element looks like when selected (Remember that you are editing one of the five elements of this shot you selected earlier):
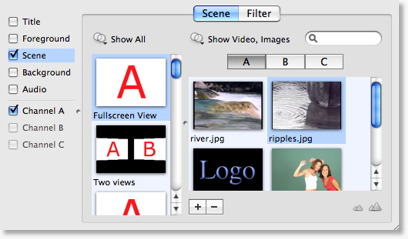
Click on the Logo icon. Notice what happens to the Shot Editor Preview - it changes to show you the Logo.
Click back on Ripples, and you'll see that the Preview switches to Ripples.
You are changing the Media for this shot.
Now click on the "Two Views" icon:
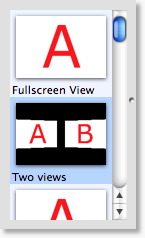
Notice the Preview has changed again, to show your Ripples on the Left side. It shows on the left because it is the "A" channel and as shown in the Icon, the "A" channel is on the left. The "B" channel hasn't been set yet, so it still shows "B".
NOTE: When you were selecting the Logo and Ripples above, you were affecting channel "A" for this shot
To affect Channel B, simply select it from the channel selector:
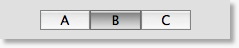
Now that Channel B is selected, press on River, your Preview should now look like this:
