Shot Logo
Logos always exist in Shots.
In fact, Wirecast treats logos exactly the same way any other static media is treated.
A 'Shot Logo' is just a shot with your logo in it
To create one, you simply take an existing shot and add your company logo to it.
Step-by-step directions
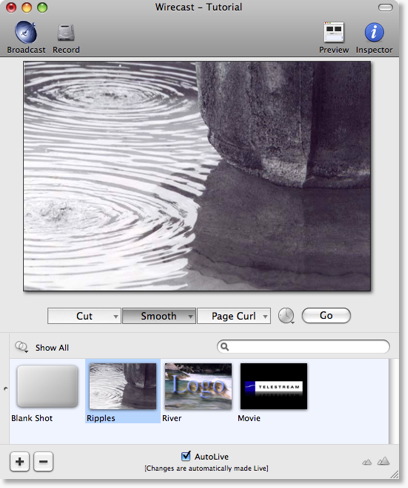
Double click on a shot
Here we pick the shot "Ripples" from our tutorial. (You can open the tutorial by selecting "Create Document from Tutorial" from the Help menu).
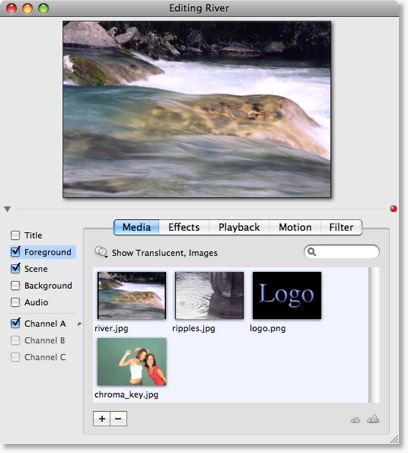
Select the Foreground shot element
After double-clicking, click on the "Foreground" text in the bottom left of the screen. Your window should look like this:
Add your logo
You can drag and drop your logo to the list shown at the bottom, or you can use the
 button.
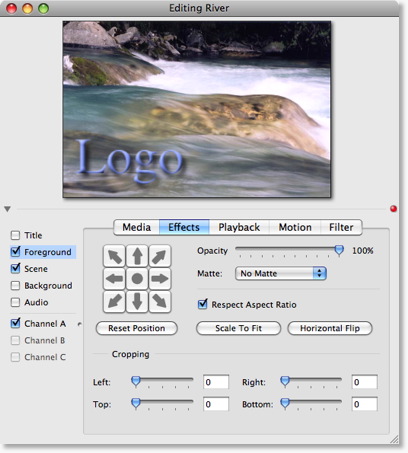
In this example, we'll just selected "logo.png", and we get the following in the preview at the top of the edit window:

Position your Logo
Most likely, you won't want the Logo directly in the middle, so to position it, you need to select "Position" from the tab in the middle of the edit window, as shown below. Below, we have positioned the logo to the top-left, and doubled it in size.
Move Media -- Use the mouse in the Preview area.
Resize Respect Aspect -- Hold the command key while moving the mouse in the Preview area.
Resize Media -- Turn off Respect Aspect Ratio. Hold the shift-command keys while moving the mouse in the Preview area.
Rotate Media -- Hold the option key while moving the mouse in the Preview area.
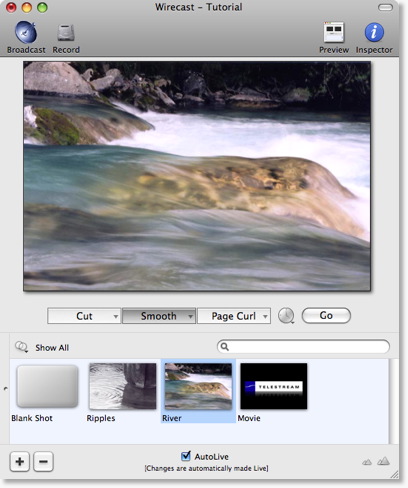
Select between shots in the Main Window
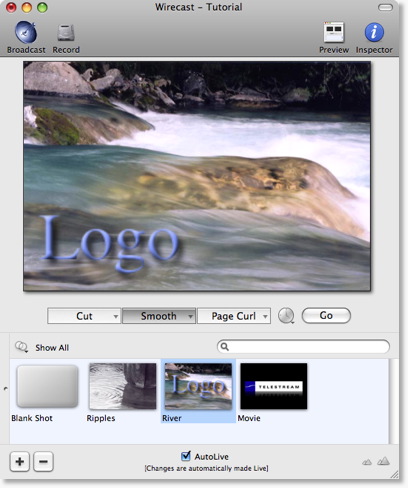
Close the edit window, and click on the River logo (or use the Go button) to make your changes live.
You'll notice that the River now has the logo embedded in the shot:
Change shots on the Normal layer
Notice that when you change to another shot, the "logo" disappears.
This is because the logo is embedded in the shot.
In fact, you could define the logo to have Motion and when you change shots, the logo would behave accordingly.