Auto Live
[Before you start this section, please make sure that all layers are visible (no red X through the layer icon), and you are on the "Normal" layer, which shows Ripples and River]:
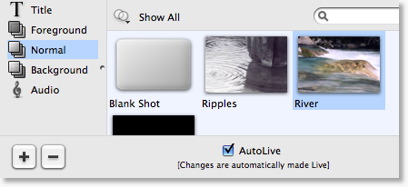
Up to this point of the Tutorial, Wirecast has been running in AutoLive mode.
What this means is that any change you make on the Main window is automatically made live.
This mode is very useful for those users who wish to set up all of their shots at once and then simply single click on shots as they run their presentation.
The downside of this one-click method is that you are limited to only one shot change at a time. Once you click on a shot, your viewers see it.
AutoLive was designed to address this issue.
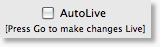
Turn AutoLive Off
Turn AutoLive off by unchecking the AutoLive checkbox. The checkbox should look like this:
Now try clicking between the Ripples and River shots. Nothing happens.
Click on the Ripples shot - nothing happens.
Press the Go Button ... and Ripples becomes Live.
Click on the River shot. Nothing happens.
Press the Go button ... and River becomes Live.
NOTE: When AutoLive is off, you must always press Go (or Command-G) to take any changes you have made Live.
Multiple Changes
The benefit of having AutoLive off is that you can make several changes and have them occur at the same time.
Let's do several changes at the same time:
Verify that AutoLive is off, and click on Ripples (you should still see River in the Live window).
Now click on the "Title" Layer in the left Layers drawer, and click on "Sample Title"
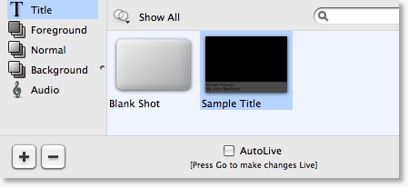
Now Press the "Go" button (or Command-G).
Notice how both the Ripples Shot and the Sample Title Shot become Live at the same time.
This is how you make several changes at the same time.