Layers
[Before you start this section, please select "Smooth" as your transition, so that the effects you see are as described.]
Wirecast allows you to use several layers.
Layers are drawn on top of each other (composited) in this order: Title is on top, then Foreground, Normal, Background and finally Audio.
NOTE: Although layers have names such as "Audio" and "Title", you do not need to use them as such: they are simply suggestions on how to use these layers. The "Audio" layer does not specifically control audio in Wirecast. It's just like any other layer where you can put media. Since it is composited at the bottom of your composition, it's a great place to put audio-only shots.
Open the layer panel by either clicking and dragging the "dimple" on the lower left side of the window, or by selecting "Layer Panel" from the "Layout" menu.
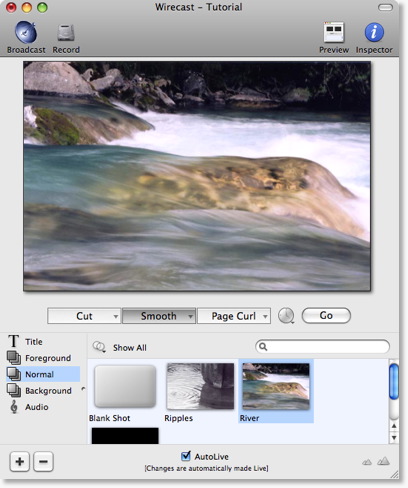
Notice that you have been doing this tutorial so far on the "Normal" layer.
Select the Foreground Layer by clicking on the text "Foreground"
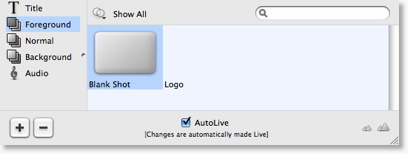
You are now looking at shots in the Foreground layer.
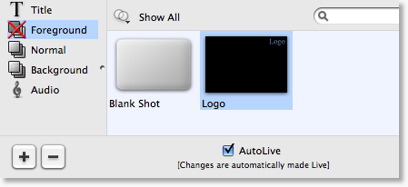
Click on the Shot named "Logo". Notice that the Logo will fade in on the top-right of the Live Broadcast area, and should look like this:
Layers can also be made invisible.
You do this by clicking on the small icon just to the left of the word "Foreground". Click on that icon now, it should look like this (with a red X through it):
And you should notice, in your Live Broadcast area that the Logo goes away.
Try clicking it on again, and watch the Logo come back into view.